How to Make an Image Transparent (And Why Your JPG Will Never Cooperate)
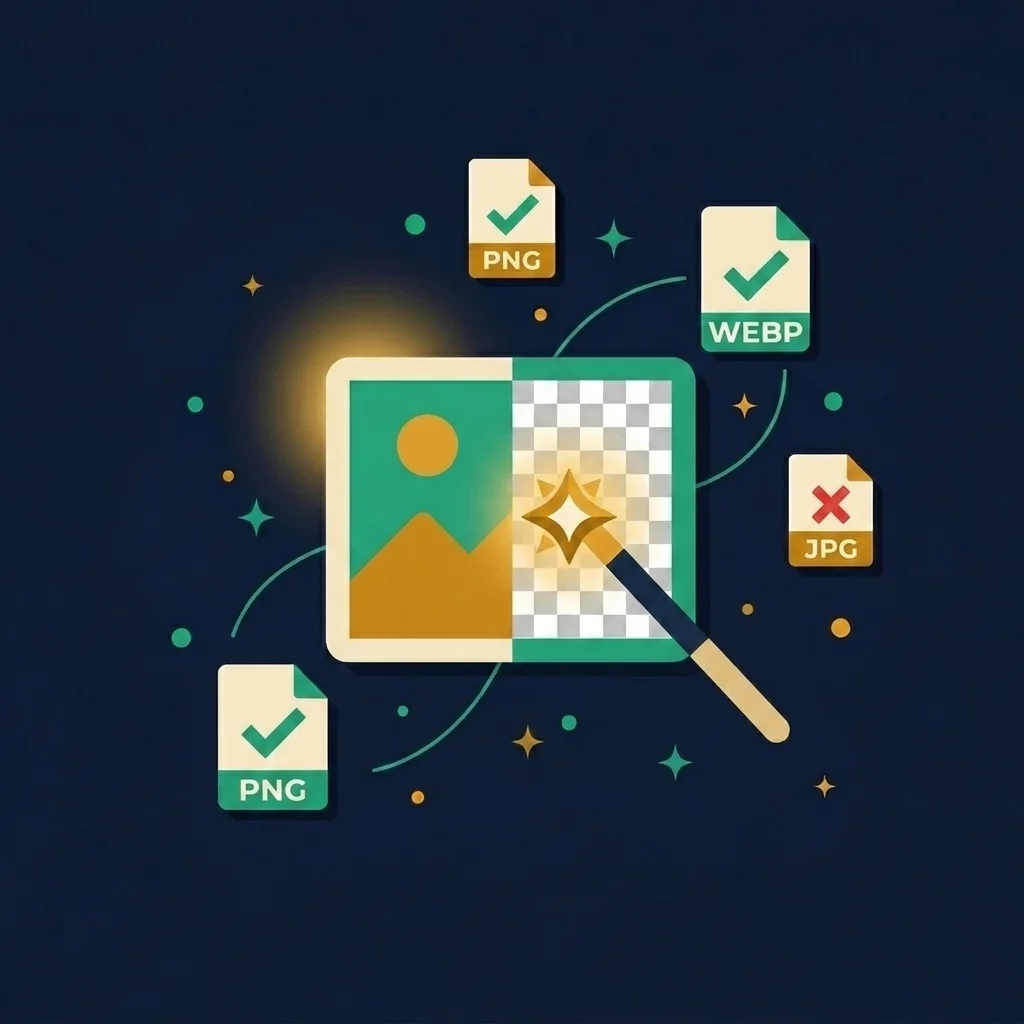
You have a logo. It looks great. You put it on your website and it sits inside a white rectangle like a sticker someone forgot to peel. You wanted the background gone. You wanted transparency. Instead you got a white box that clashes with everything.
This happens to roughly 100% of people at some point. The good news is that making an image transparent is genuinely easy once you understand what transparency actually means at the file level. The bad news is that if your image is a JPG, you are going to have to convert it first. JPG and transparency are incompatible. Always have been. Always will be.
This guide explains what transparency really is, which formats support it, how to actually make your images transparent without paying for Photoshop, and every mistake people make along the way.
What “transparent” actually means inside an image file
When you look at an image on a screen, you see pixels. Each pixel has a color made from three values: red, green, and blue. Mix them together and you get every color humans can perceive on a screen. That is RGB, the color model that basically every digital image uses.
Transparency adds a fourth value called the alpha channel. Think of it as a fourth slider alongside red, green, and blue. The alpha channel controls how see through each pixel is. A value of 255 means fully opaque, you see the pixel. A value of 0 means fully transparent, you see right through it. Values in between give you semi transparency, like frosted glass or a shadow that lets the background bleed through.
When you see that checkered grey and white pattern in Photoshop or any image editor, that is the application saying “there is nothing here.” The checkered pattern is not part of the image. It is just the editor’s way of showing you where the alpha channel is set to zero.
The technical name for an image with an alpha channel is “RGBA” instead of just “RGB.” The A stands for alpha. That fourth channel is stored right alongside the color data in the file. Not all formats support this. Which brings us to the question everyone asks.
Which image formats actually support transparency
Not all of them. This is the root cause of most transparency problems. People save a transparent image in the wrong format and the transparency vanishes. Here is the complete list.
For 99% of use cases in 2026, you want PNG or WebP. PNG if you need maximum compatibility with every piece of software on earth. WebP if you care about file size and your images are going on the web. Both handle transparency identically well.
Why JPG can never be transparent (and will never be)
JPG was designed in 1992 by the Joint Photographic Experts Group. Their goal was compressing photographs as small as possible. Photographs of real world scenes. Landscapes. Portraits. Things that do not have transparent areas.
The compression algorithm JPG uses, called DCT (discrete cosine transform), works on blocks of 8x8 pixels. It analyzes color patterns and throws away visual information that human eyes are unlikely to notice. The entire architecture assumes three channels: red, green, blue. There is no room for a fourth alpha channel. It is not that the feature was left out. It is that the format fundamentally cannot accommodate it without becoming a completely different format.
So when you take a beautiful transparent PNG and save it as JPG, every single transparent pixel gets filled with a solid color. Usually white. Sometimes black. The transparency does not “hide” somewhere in the file waiting to come back. It is gone. Destroyed. The alpha data is erased during the save process and there is no undo.
This is the single most common transparency mistake on the internet. Someone designs a logo in Canva with a transparent background, downloads it as JPG instead of PNG, and wonders why the transparency is gone. The answer is always the same. JPG cannot do this. It never could. Download it again as PNG.
How to make an image transparent (the actual steps)
The process depends on what you are starting with. There are really two scenarios.
Scenario 1: You want to remove the background from a photo
This is the most common case. You have a photo of a product, a person, or an object and you want to cut out the background so only the subject remains on a transparent layer.
Use our background removal tool. Drop the image in. The AI detects the subject automatically and removes the background. Download the result as PNG. The whole thing takes about five seconds and your image never leaves your browser. No upload, no server, no privacy risk.
For complex images with hair, fur, or intricate edges, the AI does a surprisingly good job in 2026. It is not perfect on every single strand of hair, but for product shots, portraits, and logos it handles the vast majority of cases without any manual cleanup.
Scenario 2: You want to remove a specific color (like a white background)
Sometimes you have a logo or graphic on a solid colored background and you just want that color gone. This is different from AI background removal. You are telling the tool “make every white pixel transparent” rather than “figure out what the subject is.”
Most image editors can do this with a “magic wand” or “color to alpha” feature. Select the white areas, delete them, and you have transparency. The tricky part is anti aliasing. The edges of your logo probably have semi transparent pixels that blend between the logo color and the white background. If you just delete pure white, you get a halo of off white pixels around the edges. A good tool handles this by also removing the near white transition pixels.
PNG transparency: the reliable workhorse
PNG has been the standard transparency format since the late 1990s. When people say “transparent PNG” they usually mean PNG-32, which stores 8 bits each for red, green, blue, and alpha. That is 32 bits per pixel. Full color plus full transparency.
There is also PNG-24 which is 24 bits per pixel with no alpha channel at all. And PNG-8 which is 8 bits total, limited to 256 colors, with optional binary transparency (like GIF). When you need transparency, you specifically need PNG-32. Most tools handle this automatically when you export with transparency enabled, but it is worth knowing in case you are troubleshooting why transparency disappeared.
The downside of PNG is file size. Because PNG uses lossless compression, every pixel is stored exactly. A transparent PNG of a complex photograph can be enormous. We are talking 5 to 10 megabytes for a single image. For websites, that is a problem. Which is where WebP comes in.
WebP transparency: smaller files, same quality
WebP supports full alpha transparency just like PNG, but with lossy compression. This means a transparent WebP can be 25 to 35 percent smaller than the equivalent PNG while looking identical to the human eye. For web images, this is a massive win.
Every modern browser supports WebP: Chrome, Firefox, Safari, Edge. The last holdout was Safari, which added support back in 2022. In 2026, there is no browser compatibility excuse left.
If your transparent images are going on a website, WebP should be your default format. Use our image converter to turn transparent PNGs into transparent WebPs. The transparency carries over perfectly. The files shrink significantly. Everyone wins.
One exception: if you need to email transparent images or use them in software that does not support WebP (some older desktop apps, certain print workflows), stick with PNG. But for anything web related, WebP is the move.
The GIF transparency trap
GIF supports transparency but not the kind you probably want. GIF transparency is binary. A pixel is either fully transparent or fully opaque. There is no in between. No semi transparency. No smooth edges.
This means if you have a round logo and you put it on a GIF with transparency, the edges will look like tiny stair steps. Jagged. Pixelated. This is because there are no partially transparent pixels to smooth the transition between the logo and the background.
GIF was designed in 1987. It is limited to 256 colors per frame. It is ancient technology that persists because of animations. For static transparent images, there is no reason to use GIF in 2026. PNG and WebP are better in every measurable way.
AVIF transparency: the new kid
AVIF supports full alpha transparency and creates even smaller files than WebP. A transparent AVIF can be 30 to 50 percent smaller than the same image as PNG, which is ridiculous. The quality is excellent.
Browser support for AVIF is now solid across Chrome, Firefox, Safari, and Edge. If you are building something new and want the absolute smallest transparent images possible, AVIF is the answer. Our converter supports AVIF conversion with transparency preserved.
Common mistakes that destroy transparency
These are the things I see people do over and over. Every one of them results in lost transparency and confusion.
Saving as JPG. This is number one by a country mile. You have a transparent image. You save it or export it as JPG. Transparency is gone. White background appears. You wonder what happened. The answer is you chose a format that cannot store transparency. Save as PNG or WebP instead.
Pasting into a white canvas. Some image editors create a new file with a white background by default. If you paste your transparent image onto a white canvas and then save, the white background is now part of the image. The fix is to create a new canvas with a transparent background before pasting.
Screenshots of transparent images. A screenshot captures what is on your screen. If your transparent image is displayed on a white webpage, the screenshot captures the white background behind it. You cannot screenshot transparency. You have to download the actual file.
Using PNG-8 instead of PNG-32. PNG-8 supports only binary transparency, like GIF. Your smooth edges become jagged. Most export tools default to PNG-32 when transparency is present, but some older software defaults to PNG-8. Check your export settings if edges look wrong.
Ignoring the white halo.When you remove a white background from an image, there are often semi transparent pixels at the edges that blend between the subject and the white. If the removal tool does not handle these transition pixels, you get a visible white fringe around your subject. This is called a “halo” or “matte.” A good background removal tool cleans these up automatically.
Transparent images for logos and branding
If you are designing a logo, you need a transparent version. This is non negotiable. Your logo will appear on websites, business cards, presentations, email signatures, merchandise, and social media. Each of these has a different background color. A logo trapped in a white rectangle cannot work on a dark website or a blue presentation slide.
The standard practice is to keep your master logo file as a transparent PNG at a high resolution (at least 2000px wide). From there you can resize down for any use case. You should also have an SVG version for web use since SVG scales to any size without quality loss.
If you only have a logo on a white background, use our background remover to create a transparent version. For simple logos with clean edges, the result is usually perfect. For logos with fine details or gradients, you may need to clean up a few edges manually.
Transparent images for e-commerce
Product photography on transparent backgrounds is the backbone of e-commerce. Amazon, Shopify, Etsy, and basically every marketplace either require or strongly prefer product images on white or transparent backgrounds. A transparent PNG lets you place the product on any background color, add shadows, create composite images, or let the marketplace’s own styling control the background.
The workflow is simple. Photograph your product. Remove the background with an AI tool. Export as PNG for the product listing. If you have hundreds of products, batch processing saves enormous amounts of time. Our background removal tool processes images locally in your browser, so you are not uploading product photos to a third party server.
How to check if an image is actually transparent
Sometimes you receive an image and you are not sure if it has real transparency or just a white background that looks like it might be transparent. Here is how to check.
On Mac, open the image in Preview. If you see a checkered pattern where the background should be, it is transparent. On Windows, open it in the Photos app or Paint. If the background renders as white but the file is a PNG, it might be transparent. The most reliable way is to drag the image onto a colored background. If the background shows through, transparency is real. If you see a white rectangle, it is not transparent.
You can also check the file format. If it is a JPG, it is not transparent. Guaranteed. If it is a PNG or WebP, it might be. The format supports transparency but that does not mean every PNG has it.
Converting between formats without losing transparency
The golden rule is simple: never convert a transparent image to JPG. Go from PNG to WebP, WebP to PNG, PNG to AVIF, whatever you need. All of these formats support alpha channels and will preserve your transparency perfectly.
The moment you convert to JPG, transparency dies. There is no way around this. No setting to enable. No trick to preserve it. The format specification does not include an alpha channel.
Use our image converter to switch between formats. It preserves transparency when converting between PNG, WebP, and AVIF. If you select JPG as the output, it will warn you that transparency will be lost and filled with a solid color. Which is honestly the most useful thing a converter can do.
Semi transparency and why it matters
Full transparency is straightforward. A pixel is see through. Done. But semi transparency is where things get interesting and where a lot of real world image work happens.
Shadows are semi transparent. Drop shadows, soft glows, and gradient fades all rely on the alpha channel being somewhere between 0 and 255. A shadow might be 30% opaque: dark enough to see but transparent enough that the background color affects how it looks. This is why the same shadow looks different on a white background versus a dark background. The semi transparent pixels are blending.
Glass, water, smoke, and motion blur effects all use semi transparency. If you flatten these onto a white background (by saving as JPG, for example), the subtle blending is lost forever. The shadow becomes a grey blob instead of a transparent overlay.
The practical checklist
Make Your Image Transparent
Remove the background from any photo in your browser. AI powered, free, and your image never leaves your device.